Instructions and tips for using the tool

Home Forums HammerButton Forum Instructions and tips for using the tool

Viewing 5 posts - 1 through 5 (of 5 total)
  • Author
    Posts
  • #931
    lpadmin
    Keymaster

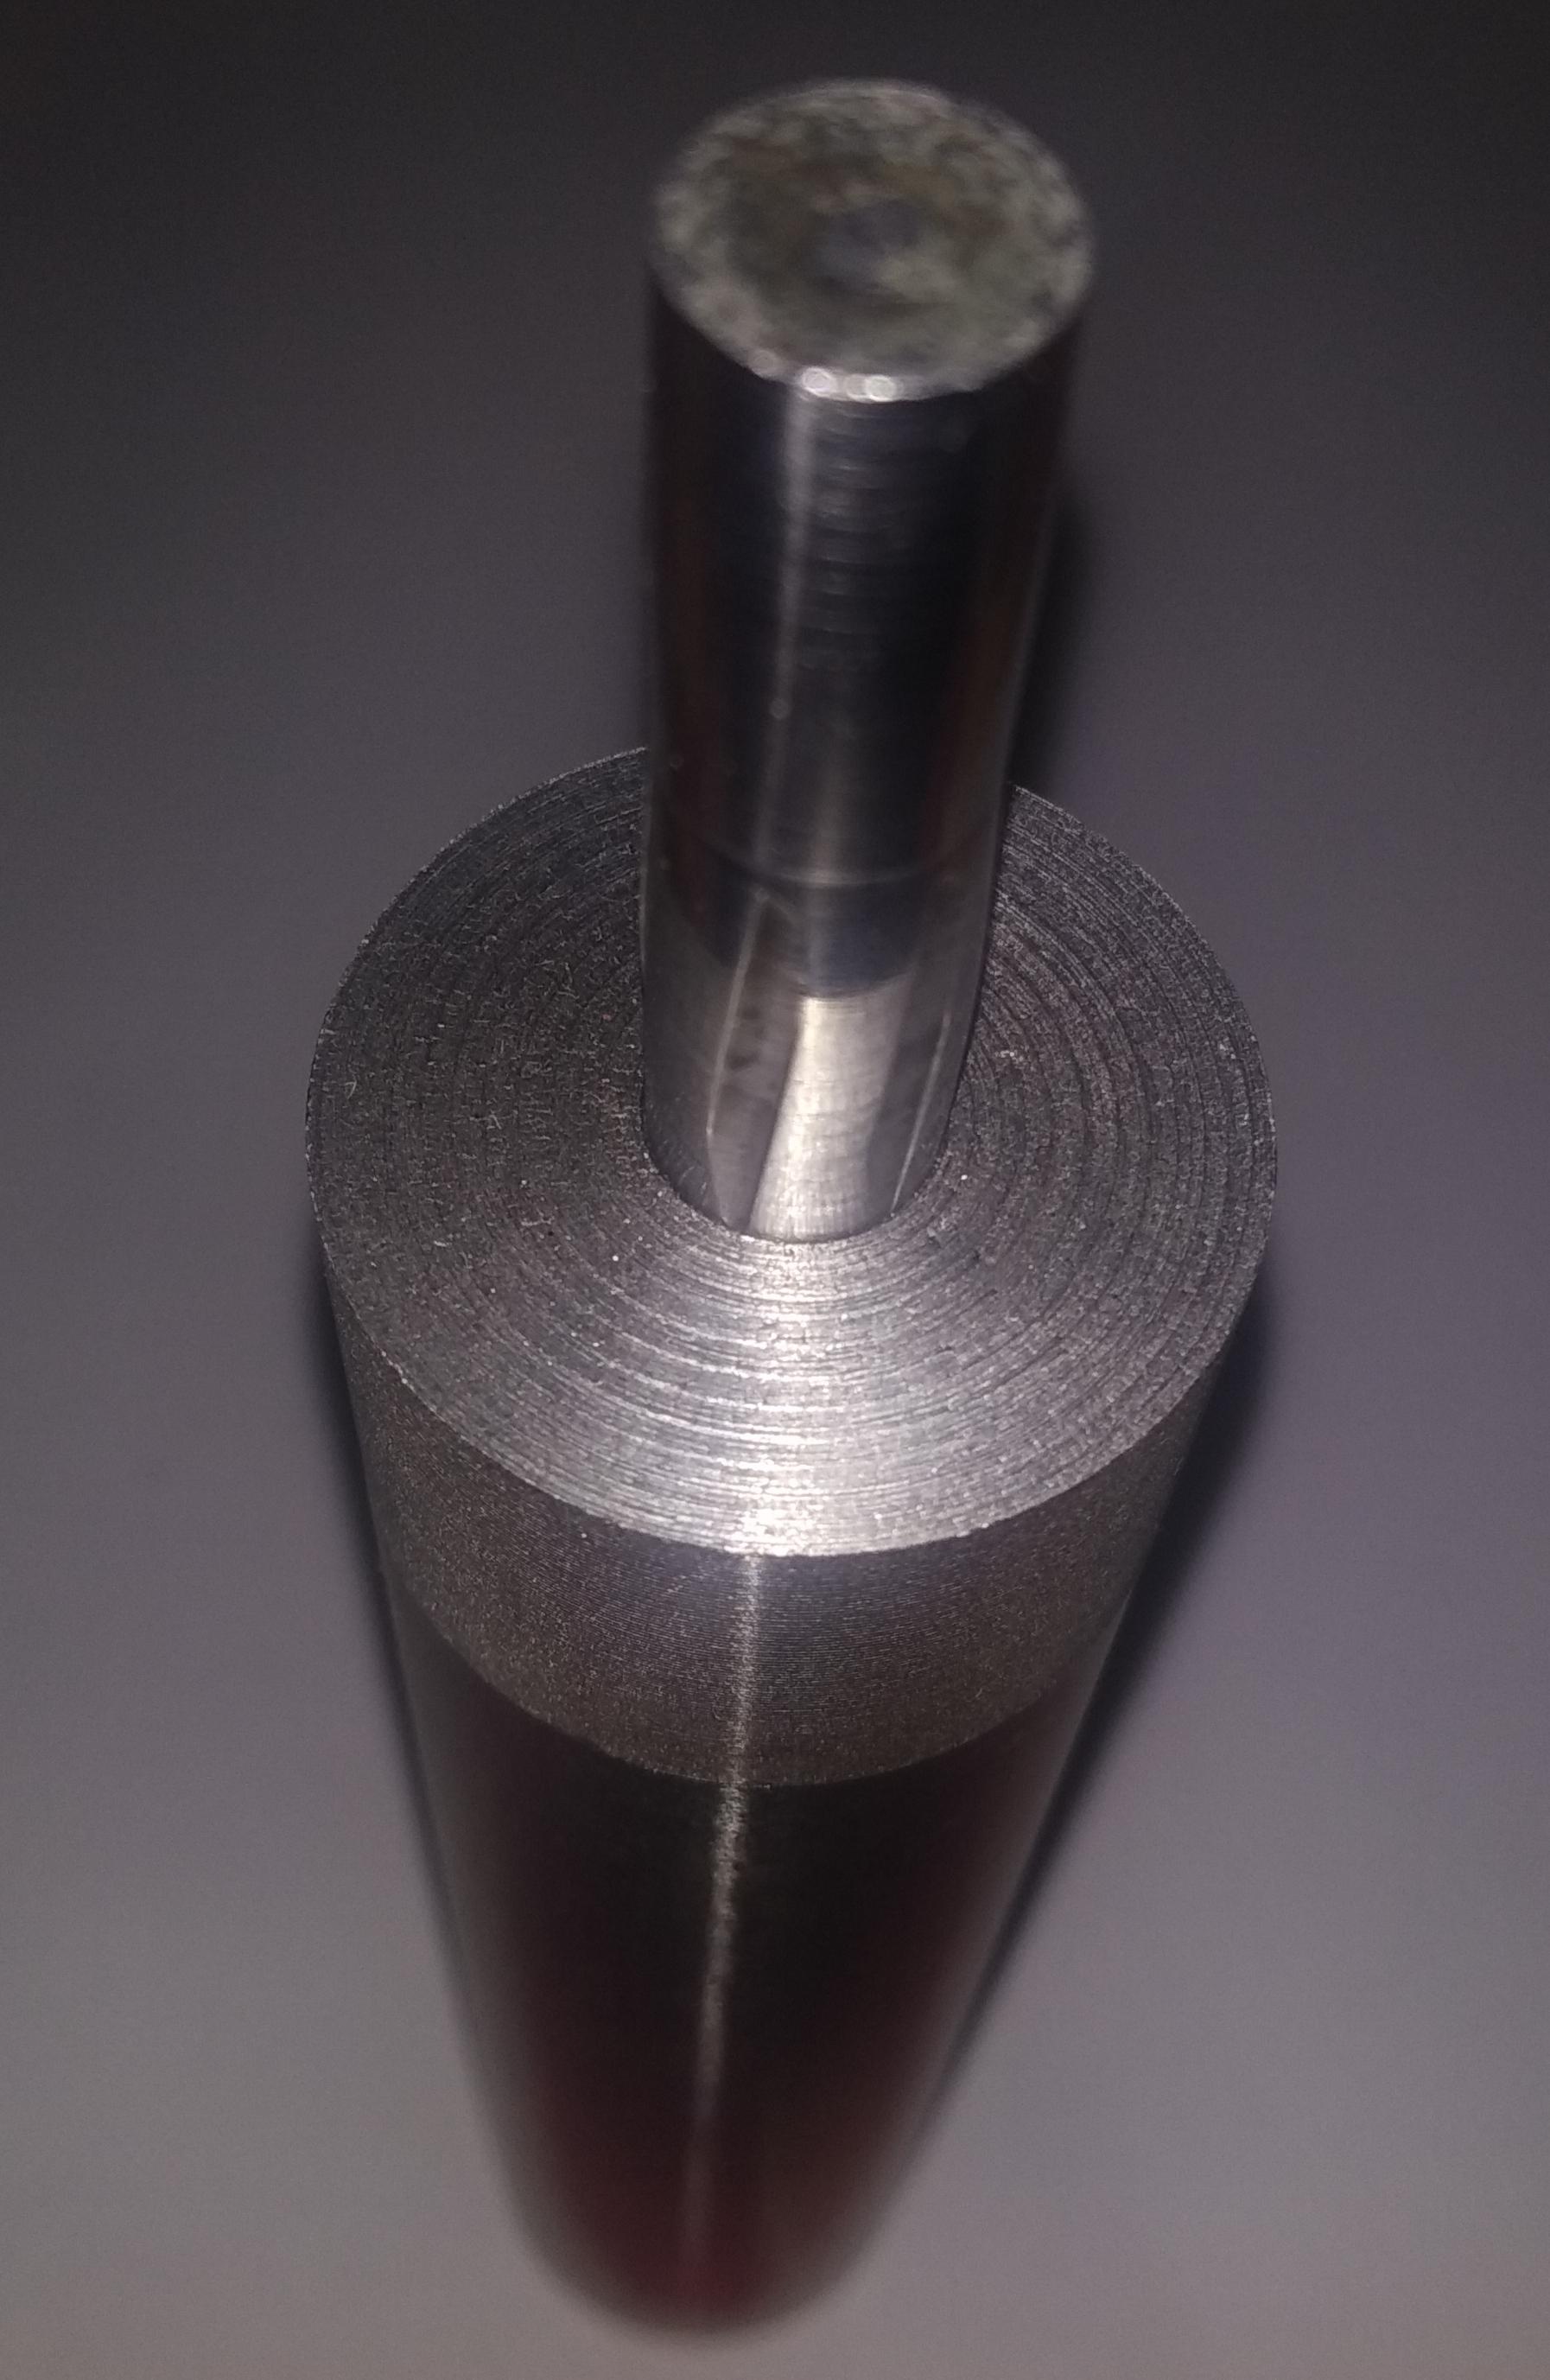
      Corect button position when using.
      press on the flat part of the button as in the photo, the end with the hole enters the workpiece first

      #933
      lpadmin
      Keymaster

        Correct hole sizes for basic button gauges

        22lr-5.45mm

        9*19-8.75mm

        7.62*39-7.55mm

        .380acp- 8.80mm

        45acp-11.15mm

        25acp-6.10mm

        #1701
        lpadmin
        Keymaster

          use the steel we recommend for our buttons, it is important to get the right result.
          also you can not use stainless steel, it is very hard and the results will not be CORRECT
          👇👇👇👇👇👇👇👇👇👇👇👇👇👇👇
          Recommended steel grades for working with a button;
          Germany( DIN,WNr) 1.7223,41CrMo4;
          France( AFNOR) 42CD4TS ;
          Spain( UNE) 42CrMo4;
          England ( BS) 708M40;
          USA 4140,4142

          #1702
          lpadmin
          Keymaster

            Another important point.
            Before using steel, it needs to be annealed.
            To do this, heat the workpiece to a bright red color and let it cool just in the air.
            this will guarantee the softness of the steel and a good result.
            this procedure is required.
            Before work buttons
            We use a lot of lubricant.
            you can use graphite automotive grease.
            We press the button with a press, you can adapt a car jack who does not have a press 😉
            Below is a link to an example of how this is done.
            This video uses our button.

            #1703
            lpadmin
            Keymaster
            Viewing 5 posts - 1 through 5 (of 5 total)
            • You must be logged in to reply to this topic.